Deployments
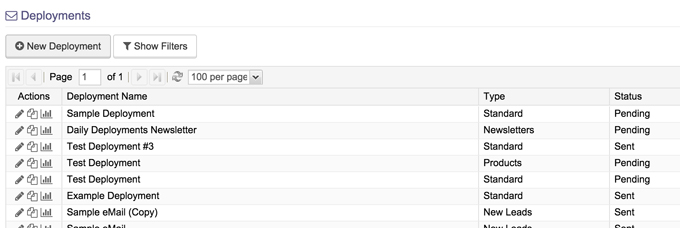
Deployments, found under the Marketing tab, are used to efficiently send email messages, such as newsletters, to a large number of recipients.

To create a new deployment, select New Deployment. To edit a deployment, click on the pencil icon next to the one you wish to edit.
For every deployment, you are required to enter some basic details such as a deployment name, the e-mail subject, and from address. In most cases, the From and Reply To Address should match, and it is highly recommended that you use a valid address under your main domain name.
.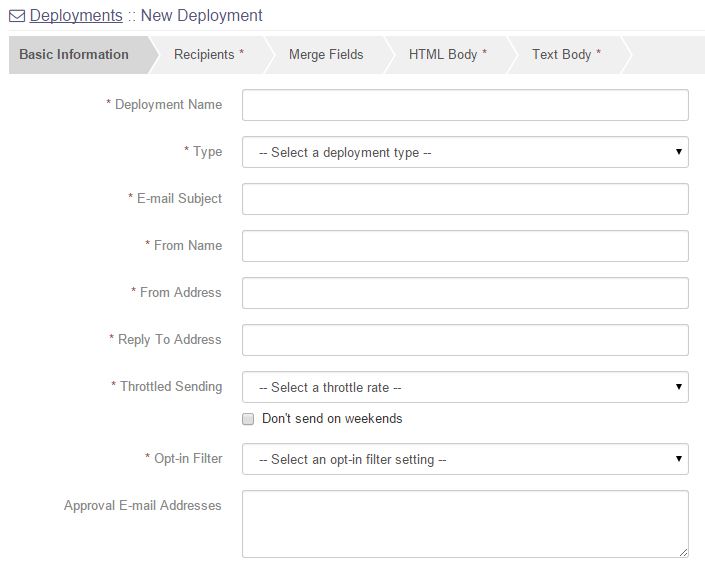
- Deployment Name: The name of the deployment
- Type: The deployment type is used to categorize marketing deployments and also provides a way for your recipients to selectively unsubscribe from only certain types of deployments. Additionally, every deployment type has a static CRM list associated with it that is automatically attached to the deployment. This means that the contacts in that associated static list will always receive all deployments assigned to that type.
- E-mail Subject: What will show up in the subject line of your email.
- From Name: This name will display as the sender of the email.
- From Address: The sender's email address.
- Reply to Address: The email address which replies will be sent to.
- Throttled Sending: Throttled sending provides a way to break up the sending of a large deployment into chunks. This practice helps with deliverability and the success rate of your deployments, and is highly recommended especially when just starting out.
- Approval E-mail Addresses: When working on a new deployment it is often help to get the feedback of co-workers on the content of the e-mail. To make this process easier, you can enter a list of e-mail addresses here which you can then send your deployment to. The approval list recipients can review the email and approve or disapprove the deployment and even provide a comment.
Once a deployment is created, you can use this panel to complete several different actions.
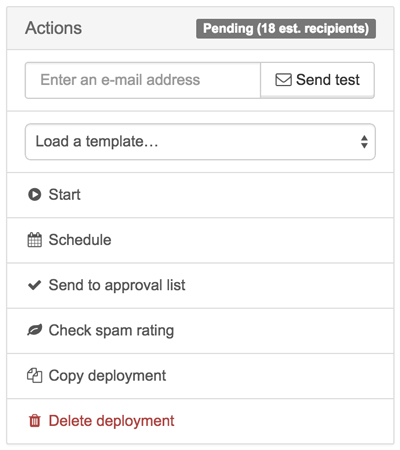
- Send Test E-mail: Use this box to quickly send the deployment to an e-mail address of your choosing. By default, it is pre-populated with the e-mail address associated with your user account.
- Load a Template: This drop down contains a list of all the available e-mail templates created in Marketing > Templates. Selecting one will populate the deployment fields and content areas with the template's associated data.
- Start Deployment: Once a deployment is created, tested and ready to deploy, this button will start the sending process. Make absolutely sure that the deployment is properly configured before doing this, because once started, you can't go back!
- Schedule a Deployment: Instead of starting a deployment immediately, you can schedule the sending process to start at a specified future date and time. Note that if needed, you can cancel a scheduled deployment before it started sending. Emails should be scheduled at minimum 2 hours in advance.
- Send to Approval List: If a deployment has one or more approval e-mail addresses associated with it, you can use this button to send to the approval list. You can perform this action as many times as needed before the deployment is started.
- Check Spam Rating: Before sending, it is highly recommended that you check your e-mail's content and configuration with this validator provided by mail-tester.com. The tool with examine many different aspects of your deployment and give it a rating between 0-10, the higher the better.
- Copy Deployment: If you find yourself creating many deployments that are very similar in content and configuration, you can ease this process by using the Copy deployment function. You just need to provide a new deployment name, and it will create a new deployment, pre-populated with all the same configuration values and content.
- Delete Deployment: Take great care when deleting deployments, as the action cannot be undone, and any associated data, such as collected statistics, will also be lost.
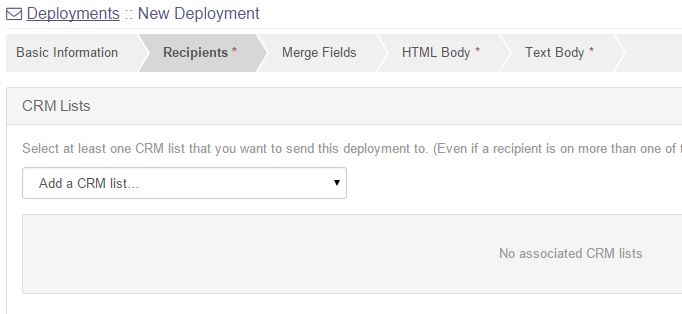
The next step is to configure the recipient list for the email.
- CRM Lists: The recipients of a deployment are set by selecting one or more CRM list. Even if a recipient is a member of more than one of the selected lists, they will still only receive the deployed email once.
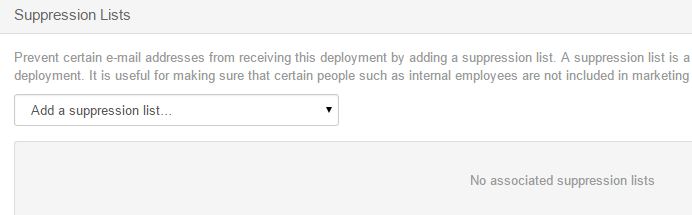
- Suppression Lists: A suppression list is a list email addresses that you do not want the deployed email to be sent to under any circumstances. You can attach multiple suppression lists to the deployment, which are created in Marketing > Suppression Lists.
The HTML body is the main email content that the vast majority of your recipients will see when opening your email. It is important to check how your e-mail content is displayed in multiple email clients such as Outlook and Gmail, to ensure there are no inconsistencies.
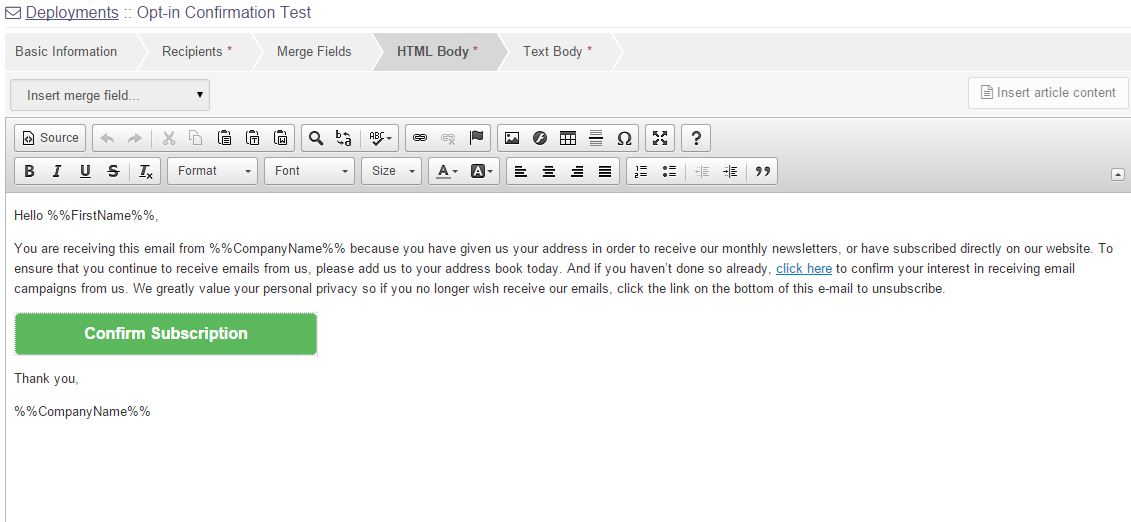
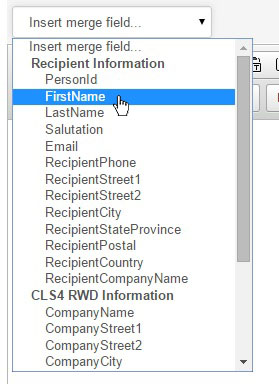
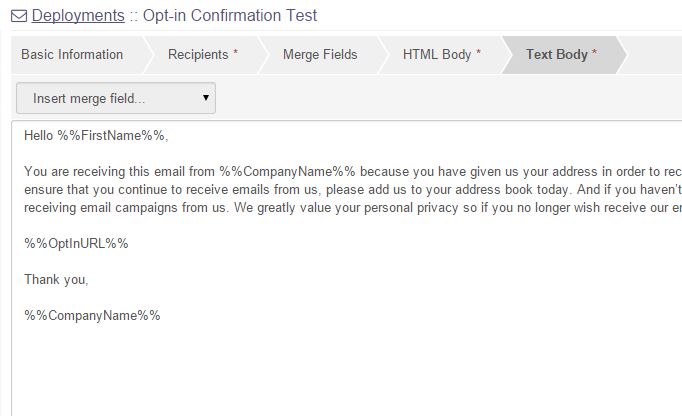
Merge fields are placeholder values that represent data that is different for each individual recipient, such as their name or company. Using this drop down, you can insert merge fields into your email content in order to create a more personalized message. Read more about mere fields in the guide under Marketing >> Merge Fields.
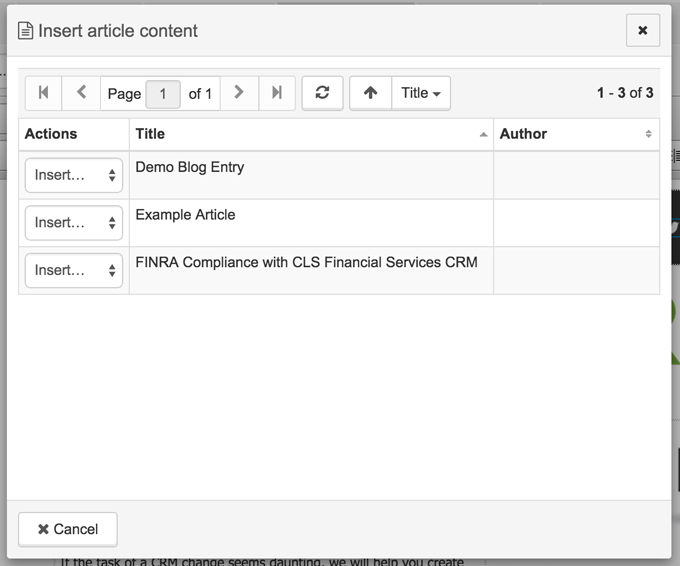
Article content that was created in Content >> Articles can be easily inserted into a deployment using the Insert article content button. This is especially useful for newsletter-type deployments.
The text body is an alternate version of your email content that is plain text with no formatting or HTML-based content. While most recipients will not see this content, it is important to have in order to follow accessibility standards and deliverability best practices.
Once a deployment has been started, you can track and analyze metrics such as open and click rates in real time by using the Statistics tab to the left of the deployment.

An overview will open. Specific detailed statistics can be viewed by choosing from the menu on the left.
Have an additional question about any of the tools that you answered? Submit it here, and we will be in contact to help you!