Importing
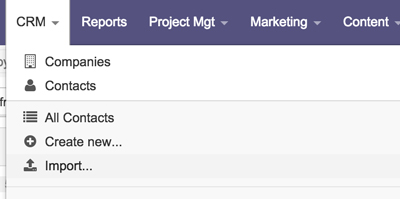
Records can be imported to the CRM using the Import tool. Use the tool associated with the type of records you are importing.
A configuration screen will open.
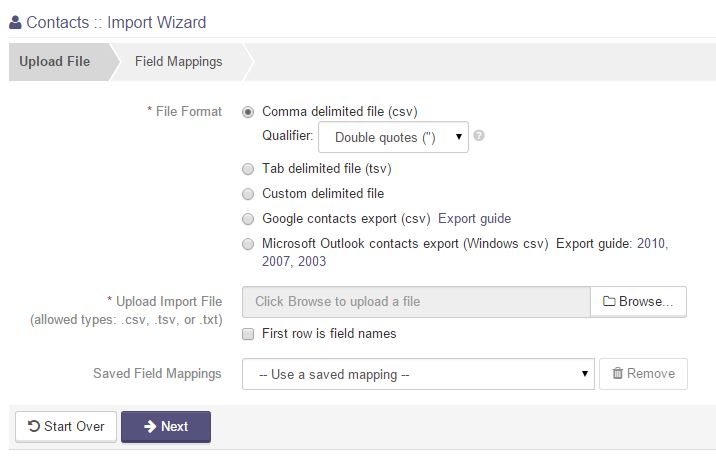
- File Format:
- Comma deliminated file (csv): This is one of the most common formats for exporting tabular data from applications like Microsoft Excel, Access, and many other types of programs such as e-mail clients or database management tools. Comma delimited files contain records of textual data, one record per line, with each field or column value separated by a comma. In many cases, the first line in the file contains the column labels/headers, which are also separated by commas.
- Qualifier: The qualifier is a character used to enclose a column/field value in a file. The qualifier prevents the file from being incorrectly parsed if a column value happens to contain a special character (for example a comma in the case of csv files). In most cases either double quotes or single quotes are used as the qualifier, and rarely will a file have no qualifier.
- Tab delimited file (tsv): Tab delimited files are identical to comma delimited files, however instead of commas, they use a tab character to separate the column values.
- Custom delimited file: While it is fairly uncommon, some applications may export tabular data using a neither commas or tabs to separate (aka delimit) the column values. In these cases, selecting this type allows you to specify a single character as the delimiter (for example a vertical bar/pipe character, "|").
- Google contacts export (csv): This file type should be used when importing a contacts file that was exported from the Google Apps or Gmail web applications. It will automatically set the correct file type, qualifier, and even set default field mappings for some of the more common fields that are included in exports from this source.
- Microsoft Outlook contacts export (Windows csv): This file type should be used when importing a contacts file that was exported from the Microsoft Outlook or Outlook Express desktop mail clients. Like the Google contacts export type, it will automatically set the correct file type, qualifier, and even set default field mappings for some of the more common fields that are included in exports from this source.
- Comma deliminated file (csv): This is one of the most common formats for exporting tabular data from applications like Microsoft Excel, Access, and many other types of programs such as e-mail clients or database management tools. Comma delimited files contain records of textual data, one record per line, with each field or column value separated by a comma. In many cases, the first line in the file contains the column labels/headers, which are also separated by commas.
- Upload Import File: Chose the file from your machine. Check the box to indicate if the field names are included in the first row.
- Saved Field Mappings: If you have previously saved field mappings, you can load these settings by using the dropdown.
Once you have answered all of the questions, click the Next button at the bottom of the screen. A configuration screen will open with several parts.
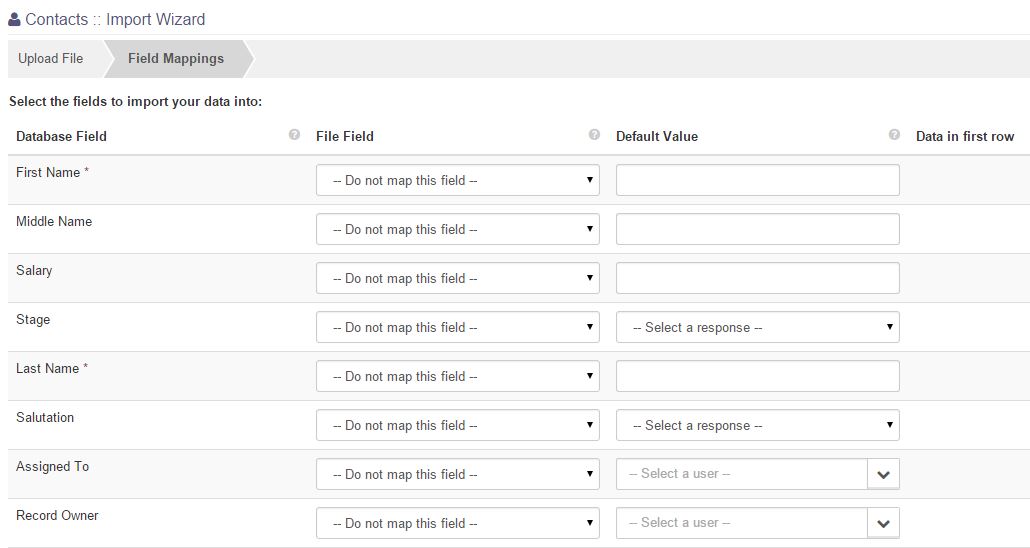
The first part is mapping the fields from the file to the correct fields within your database.
- Database Field: This is the field in the database that you are trying to fill.
- File Fields: These are the field you have to chose from within the file that contain the data that will be mapped into the database field.
- Default Value: If you wish to have a default value set for any missing data, it can be set by answering the question here.
- Data in First Row: This will show what data is in the first row of your file for the file field that you choose.
Scroll to the bottom for Import Filter.
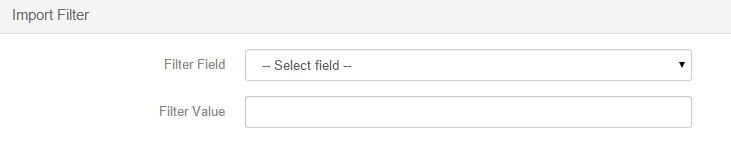
- Filter Field: The rows imported from tour file can optionally be filtered based on he value of a single field with the file.
- Filter Value: The text entered in this field will be compared against the data in the specific field for each line in the file. If it does not match exactly, the line will not be imported.
Below this is Import Options.
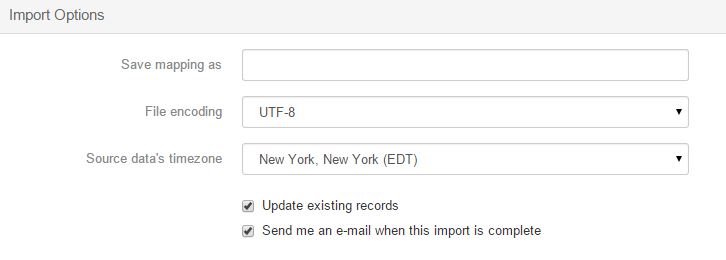
- Save mapping as: Optionally enter a descriptive name to save this to save this field mapping configuration for future imports.
- File encoding: Set the character set encoding that is used by the file to ensure your data is not corrupted when inserted into the database. In most cases, this option should be left set yo UTF-8.
- Source data's timezone: If your data contains dates based in a time zone that is not the same as your own settings, set this option to the correct time zone to prevent incorrect hour offsets when the dates are imported into the database.
- Check the boxes if you wish to update existing records and/or have an email notification when the import is complete.
Once you have completed all questions, click the Start Import button to being the import.
Upon completion of the import a results screen will provide basic data on the import.
- Number of records created: This is the number of new records written to the database.
- Number of records updated: The number of preexisting records in the database that were updated with the information from the import.
- Rows with invalid data: The number of rows in the file that were not imported due to missing or invalid data. Use the link to download a file that contains the information from these rows.
- Duplicate records not created: The number of rows in the file that were not created because they contained duplicate information that already existed in the database.
Articles in this section
Have an additional question about any of the tools that you answered? Submit it here, and we will be in contact to help you!